
If you’ve ever walked across a threshold where carpet meets tile and felt a slight lip underfoot, or noticed a curling, fraying edge where two floor coverings meet, you’ve seen what happens when a transition strip is missing. It’s a small detail, but it’s one of the most consequential in any flooring installation.
Transition strips are the trim profiles that join two different floor coverings, or two areas of the same covering, at a doorway, room boundary, or change in flooring height. They’re often treated as an afterthought, specified late in a project or left out altogether to save cost. In practice, they do far more work than their size suggests: managing movement, protecting edges, meeting safety regulations, and finishing a job so it looks intentional rather than incomplete.
This guide explains why transition strips matter, where they’re essential, and what to consider when specifying or installing them.
What Are Transition Strips?
A transition strip, also called a threshold strip, doorbar, or floor trim, is a profile fitted at the point where two floor finishes meet. This might be carpet to LVT, tile to timber, or two sections of the same flooring separated by an expansion joint.
Transition strips come in several forms depending on the height difference and materials, from flat cover plates to ramped profiles and clip-in systems. If you want a full breakdown of the different trim types available, our guide to floor finishing trims covers that in detail. This article focuses on the practical reasons transition strips are worth specifying on every job, not just the awkward ones.
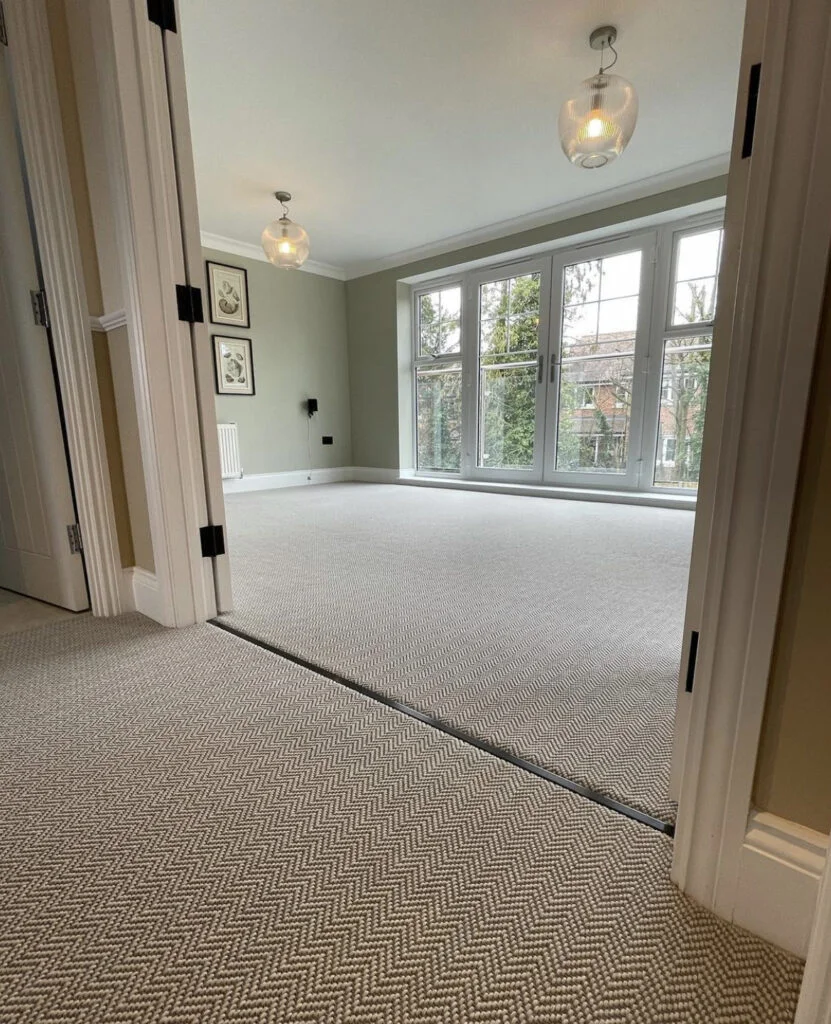
Why Transition Strips Matter
A floor covering doesn’t exist in isolation. It expands, contracts, wears, and meets other materials at its edges. Every one of those interactions creates a point of potential failure if it isn’t managed properly. Transition strips exist to manage that point, and the reasons for using them fall into a handful of practical categories.
Preventing Trip Hazards and Improving Safety
An unprotected edge or a height difference between two floor coverings is one of the most common causes of trips in both commercial and residential settings. Carpet edges fray and lift. Tile edges chip. LVT can shift slightly over time, creating a raised lip that’s easy to catch a foot on.
A correctly fitted transition strip removes that hazard by creating a smooth, predictable surface at the junction. In commercial environments, offices, retail units, schools, this isn’t just good practice; it’s often a legal expectation under health and safety and occupiers’ liability obligations. A trip incident at an unmarked threshold is exactly the kind of claim that’s difficult to defend if there was an easy, low-cost fix available.
Accommodating Expansion and Contraction
Most flooring materials move. Timber expands and contracts with humidity. Vinyl and LVT respond to temperature changes. Even large areas of tile need movement joints to prevent cracking under stress. If a floor is laid edge-to-edge with no allowance for this movement, the result is buckling, lifting, or cracking, usually months after installation, once the client has forgotten the job was ever done.
Transition strips, particularly clip-in systems, are designed to sit over a movement joint and allow the floor beneath to expand and contract without visible disruption. This is one of the more technical reasons for specifying transition strips, but it’s also one of the most costly to skip. A callback to fix a buckled floor is far more expensive than the trim would have been in the first place.
Protecting Exposed Floor Edges from Damage
Any floor edge that isn’t fixed to an adjoining surface is vulnerable. Carpet edges fray under foot traffic and vacuum cleaners. LVT and vinyl edges lift and curl if they’re not secured. Even hard flooring like stone or ceramic can chip along an exposed edge if it takes a knock from furniture or equipment.
A transition strip caps and protects that edge, distributing wear across a durable metal or PVC profile instead of the flooring material itself. In high-footfall areas (hallways, entrance zones, corridors) this single detail can significantly extend how long flooring lasts before it needs replacing or repairing.
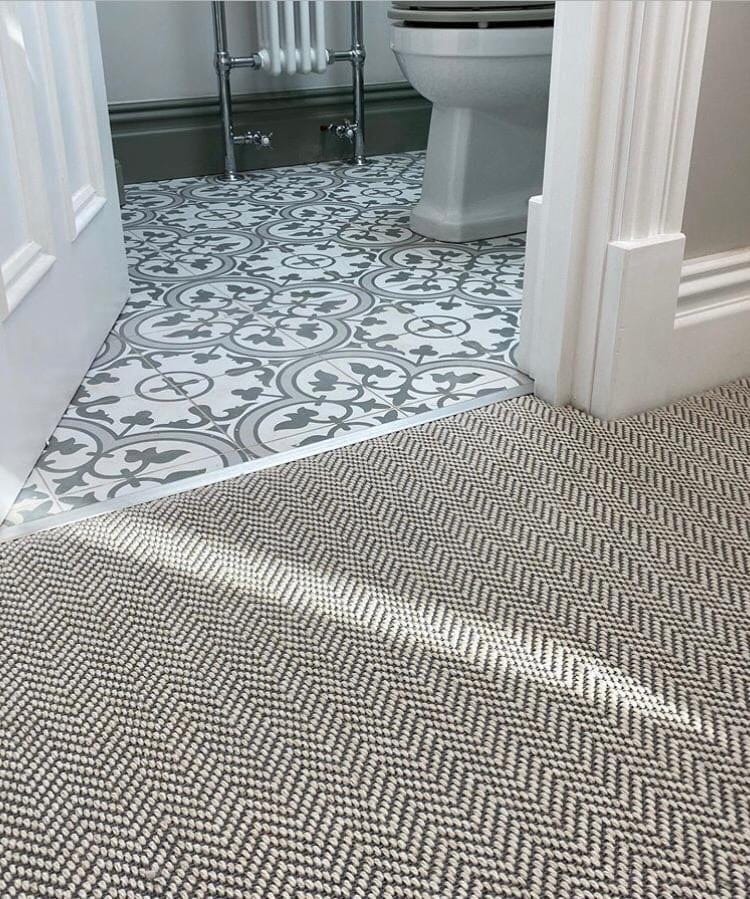
Creating Clean, Professional Sightlines
Beyond the functional case, there’s a simple visual one. An unfinished joint between two floor coverings looks unfinished, no matter how well the rest of the installation has been executed. A transition strip in the right finish, brass, aluminium, or a colour-matched PVC, gives the junction a deliberate, considered look.
This matters most in spaces where appearance is part of the brief: hospitality venues, retail environments, reception areas, and higher-spec residential projects. Clients notice these details, even if they can’t always articulate why a floor looks “finished” or not.
Managing Height Differences Between Floor Types
Different flooring materials sit at different heights once installed. Carpet with underlay can be considerably thicker than LVT or ceramic tile. Where two such materials meet, that height difference needs to be resolved, otherwise you’re left with either a visible step or an unsupported overhang that will eventually break down.
Ramp profiles and single Naplock trims are specifically designed to bridge this gap, creating a gradual, safe transition instead of an abrupt edge. Getting this right is particularly important in spaces used by people with mobility aids, pushchairs, or trolleys, where even a small unmanaged step can cause real problems.
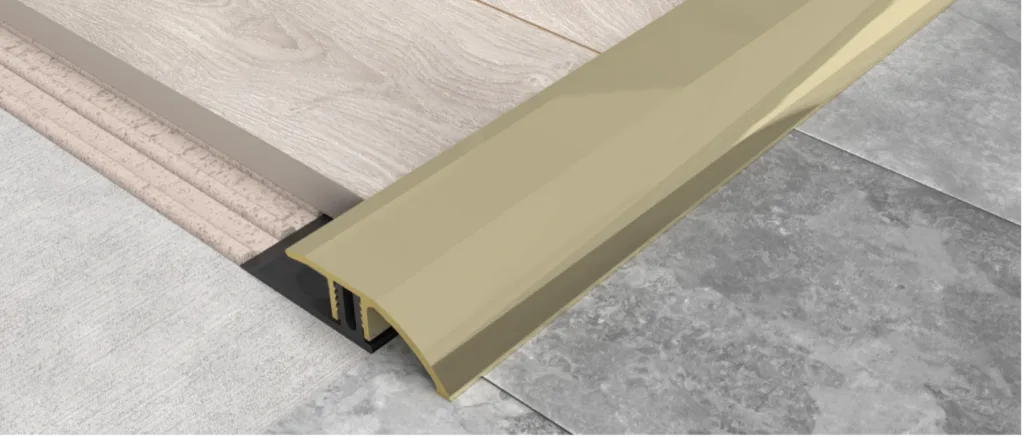
Meeting Building Regulations and Accessibility Standards
In commercial and public buildings, floor transitions aren’t just a matter of good practice, they’re often subject to specific regulatory requirements. Threshold heights, slip resistance, and edge protection all fall under accessibility standards such as Approved Document M in England and Wales, which sets limits on step heights and requires level or ramped access wherever reasonably practicable.
Specifying the correct transition strip helps a project meet these requirements from the outset, rather than requiring remedial work once a building inspector or access consultant flags an issue. It’s far more efficient to get this right at specification stage than to retrofit a compliant solution later.
Extending the Lifespan of the Flooring Installation
Taken together, these functions add up to one overarching benefit: transition strips protect the investment made in the flooring itself. Floor coverings are expensive to install and disruptive to replace. A trim that costs a fraction of the overall flooring budget can prevent premature wear, movement damage, and edge failure that would otherwise shorten the usable life of the floor.
For contractors and specifiers, this is often the easiest argument to make to a client who’s questioning the extra line item on a quote, it’s a small cost that protects a much larger one.
Common Situations Where a Transition Strip Is Essential
Some situations make a transition strip non-negotiable rather than optional:
- Doorways between rooms with different floor coverings, such as carpet to LVT or tile to timber
- Movement joints in large areas of hard flooring, particularly timber and engineered boards
- Wet-to-dry transitions, such as a bathroom or wet room meeting a hallway
- Changes in floor height, including sunken or raised sections
- Commercial entrances where external and internal flooring meet, often combined with matting systems
- Mixed-material projects, where different zones of a building use different flooring specifications for practical or budgetary reasons
If a project includes any of these conditions, a transition strip should be part of the specification from the start, not added in as a fix once the flooring is already down.
Choosing the Right Transition Strip for the Job
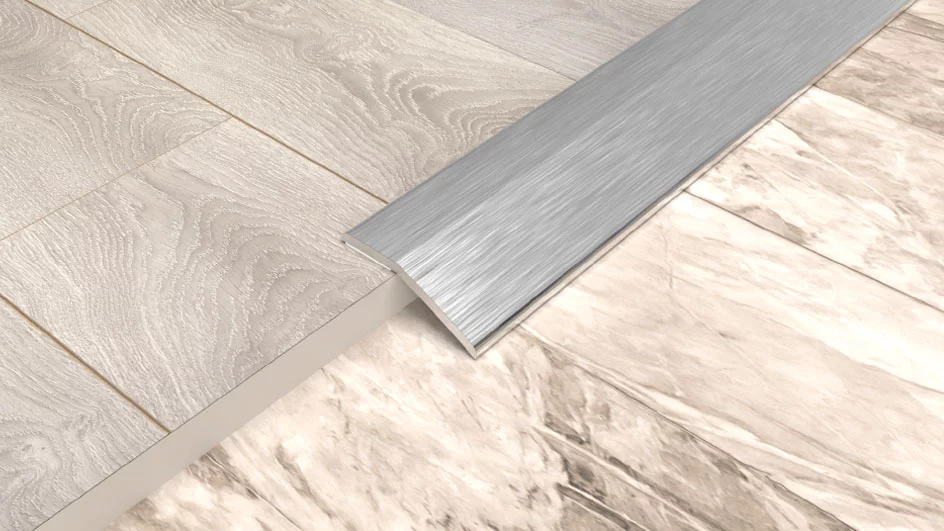
The right transition strip depends on three main factors: the height difference between the two floor coverings, the materials involved, and the expected traffic level. A flat cover plate suits two hard floors at the same height. A ramp profile is needed where there’s a genuine step. A clip-in system works well where a movement joint needs to remain serviceable over time.
Material choice also matters. Aluminium offers a good balance of strength and cost for most commercial settings. Brass adds a premium finish suited to hospitality and higher-spec residential work. Stainless steel and PVC each have their place depending on hygiene requirements, budget, and expected wear. For a full comparison of trim types and when to use each one, see our guide to floor finishing trims.
Installation: Stick Fix vs Screw-Fix
Once the right profile is chosen, installation method is the next decision. Screw-fix trims offer maximum security and are typically specified for heavy commercial traffic, while Stick Fix adhesive systems allow for a solvent-free, faster installation without visible fixings, useful where appearance or installation speed is a priority. Our Stick Fix guide covers this in more depth.
Common Mistakes When Specifying Transition Strips
A few recurring errors show up on site, usually because the trim was an afterthought rather than part of the original specification:
- Ignoring the expansion gap. Fitting a trim without allowing for the flooring’s natural movement, which leads to buckling later.
- Choosing the wrong material for footfall. A lightweight PVC trim in a high-traffic commercial corridor will wear out far faster than an aluminium or brass equivalent.
- Overlooking height differences. Assuming two floor coverings will sit flush without checking actual finished floor heights first.
- Leaving it until the flooring is down. Ordering trims as an afterthought often means settling for whatever’s in stock, rather than the correct profile for the job.
- Missing accessibility requirements. Specifying a step where a ramped or level transition was actually required under building regulations.
Each of these is straightforward to avoid if the transition strip is considered at the specification stage, alongside the flooring itself, rather than treated as a finishing touch.
Floor Transition Strip FAQs
Do I need a transition strip if the two floors are the same height? Yes, in most cases. Even where there’s no height difference, a transition strip protects the edges of both floor coverings and covers any expansion gap, movement joint, or slight irregularity in the subfloor.
Can transition strips be used outdoors? Some profiles are suitable for external use, typically where they connect internal flooring to an external surface such as at a commercial entrance. These usually need to be paired with appropriate matting or drainage detailing.
What’s the difference between a transition strip and a threshold strip? The terms are largely interchangeable in flooring. Both describe a trim fitted at the point where two floor coverings meet, though “threshold” is more commonly used at doorways specifically.
How much height difference can a transition strip cover? This depends on the profile. Flat cover plates suit floors at the same height, while ramp profiles can accommodate larger differences, sometimes several centimetres, depending on the specific product.
Do transition strips need to be replaced when flooring is replaced? Not always, but it’s worth checking condition and compatibility. A trim that’s still structurally sound and the correct height for the new flooring can often be reused, though this should be assessed on a case-by-case basis.
Are transition strips a legal requirement? Not universally, but in commercial and public buildings, floor safety and accessibility standards often make an unmanaged trip hazard or non-compliant step a liability issue. Specifying the correct trim is the practical way to meet those obligations.